8 Steps to Building an Island Oasis
 Have you dreamt about having an island oasis of plants in the middle of your lawn to enhance your landscaping?
Have you envisioned a retaining wall around that island of plants?
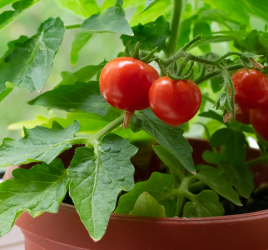
An island of plants with a retaining wall around it may be the envy of the neighborhood. The retaining wall can protect your lawn and your plants. Plus, let’s be honest. It looks great. With help from the Backyard Gardening Blog, today we are going to breaking up how to build a retaining wall in only eight easy steps.
An island of plants with a retaining wall around it may be the envy of the neighborhood. The retaining wall can protect your lawn and your plants. Plus, let’s be honest. It looks great. With help from the Backyard Gardening Blog, today we are going to breaking up how to build a retaining wall in only eight easy steps.
- Step 1: The Vision
Before any great project can start, there is always the vision. Your first step is to draw out the shape of your island on your lawn. Spray paint usually works best. - Step 2: The Bed Liner
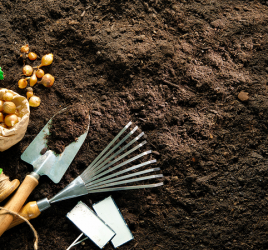
Using black and white newspaper or corrugated cardboard is going to be the easiest and cheapest way to create a bed liner. You can put it in the middle of your bed on the grass. By doing this, it is actually safe for your garden because it will act as a temporary barrier to weeds and grass, however, it will decompose. Since it decomposes in 90 days, it won’t prevent the roots from growing deep into the soil. - Step 3: The Trenches
You will want your trenches surrounding your new island to be about 10 inches wide. It is best to use a flat shovel because you need the bottom to be flat and level for the retaining wall blocks. While digging, use the chucks of sod on top of your cardboard. - Step 4: The Bricks
Before you lay your bricks, you first want to lay some high quality weed landscape fabric. Lay any excess toward the middle. Then, lay the bricks in the trench level with the dirt. - Step 5: The Filling
After you have built the wall to the height you had envisioned, the next step is filling in the island with the dirt. The best way to do this is lay the bags of dirt over the sod and cardboard, then with a knife cut and empty each bag. - Step 6: The Edges
Take your landscape fabric and pull it in towards the center of the bed. You do not want anything longer than 6 inches, anything else you can trim. Lastly, to secure the soil use fabric staples and staple the fabric together. This will prevent the soil from running down the cracks of the bricks. - Step 7: The Mulching and the Planting
That’s right. It is time to mulch. Due to the mulch settling over time, it is always good to really pile up the mulch. - Step 8: The Rootsticks
The last step is to install rootsticks. Rootsticks will help the plants you just planted get the oxygen, water and nutrients they need to establish strong roots and a long life.
For visual instructions, please visit the Backyard Gardening Blog.