How to Start Your Vegetable Garden Indoors

It’s the beginning of spring, but there are still several weeks of cold temperatures and gray days before things start to warm up – that is, if you live in the Midwest like I do.
In some places in the country, it’s already time to plant seeds, or it will be soon. However, did you know you can get a jump on your seedlings weeks before the ground outside is ready to accept them?
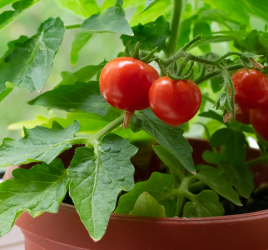
Did you know that you can get a jump on having fresh vegetables on your table from your very own garden?
Tips on Starting Your Vegetable Garden Indoors
The method of starting your vegetable garden indoors is very simple. Almost anyone could do it with a little bit of sunny window space and some practice.
First Things First
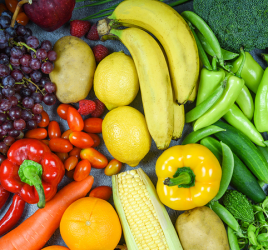
This is the fun part. Think about what you would like to grow. Squash, cucumber, salad greens, tomatoes, or watermelon? The choices are endless. Make a list of all the things you’d like to have at your fingertips this summer – it helps to be a little bit hungry when you do it.
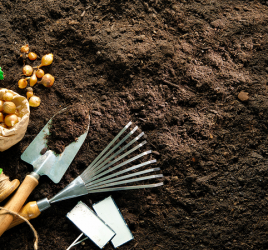
Seeds
Using an online planning tool, you can lay out exactly what you are going to plant and where. Some of these tools give you the advantage of knowing how much space you will need and when to plant seedlings in the ground for your area.
You can count backward from there to figure out when to start your seeds indoors, and no, it is not always helpful to start earlier! You may find out the hard way that you only have so much room inside for growing plants.
A good rule of thumb is to start seedlings inside 6-8 weeks before the last frost. However, if you want an expert to tell you what to do, there are also online planning calendars available with an internet search.
Seeds will come in many shapes and sizes. Some of them need to be soaked or scratched or chilled before planting. So, be sure to read the seed packet before attempting to germinate them.
Labeled, clean containers are a must. You can certainly use leftover egg cartons but be sure to poke drainage holes in the sides near the bottom. Seeds need moist but not wet substrate (not soil). In addition, especially if you are a beginner, you will want to know which plants are which. It is important to label everything meticulously.
Seed Starting
There are two good ways to start seeds: in potting mix and containers made for seedlings or the paper towel method. The paper towel method is usually a little bit faster, so make sure you’re paying attention to your dates. You will still need seedling containers using the paper towel method, but not right away.
Container Method
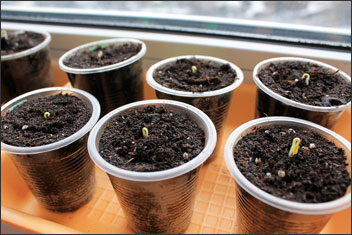
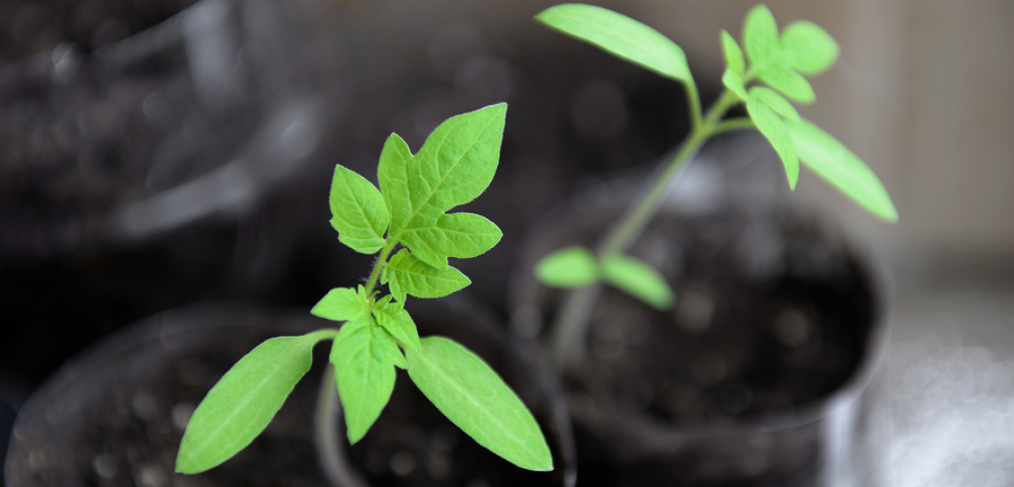
Tomato seeds germinating in containers on window sill
- Use a potting mix made for seedlings: soilless peat moss, vermiculite, and perlite. Regular potting soil won’t cut it.
- Fill containers with moistened mix.
- Plant seeds according to the packet, gently pressing into the mix with a finger.
- Pro tip: sometimes tomato or pepper leaves can get stuck in their hard seed coat after germinating. This can be hard to fix. To prevent it, plant the seed with the root tip UP, instead of down. The root will automatically dig toward the bottom, but the seed coat is being kept moist. The U shape the root makes eventually flips the seed over with the seed coat still buried to prevent its hardening.
- Cover with plastic and prick holes for ventilation.
- Make sure to water very carefully and not over-water. A syringe makes a good watering tool for seedlings.
- Place somewhere that is heated underneath – on a heating pad, on top of the refrigerator or on the stove when it is not turned on. Seeds need constant temperatures of 65-75 degrees Fahrenheit.
- Take the plastic off once sprouts emerge and move into bright light. Move it to individual pots filled with potting mix and compost after seedlings have sprouted a second pair of leaves but keep out of direct sun for a few days.
Paper Towel Method
- Gather good-quality paper towel, resealable plastic bags, light blocking envelope or fabric and a marker and labels.
- Dampen a paper towel until damp but not sopping wet and lay flat.
- Lay out rows of seeds on half of the towel, spacing seeds according to their size. Larger seeds will need more space.
- Put similar sizes and germination times together.
- Once you have placed all your seeds, fold the other half of the paper towel over and label with a marker or labels: the type of seed and the date. You will need to check this against the seed packet’s predicted germination date.
- Put the paper towel with seeds inside a damp plastic bag – make sure there is no standing water. Keep it flat and close the bag, releasing the extra air inside.
- Cover with an envelope or light-proof fabric and store in a place that is 70-80 degrees Fahrenheit (unless you know you are germinating seeds that like cooler temperatures).
- Check every few days for signs of drying and sprinkle if necessary, check for germination by holding up to the light.
- Once the seed has germinated, prepare individual seedling containers with potting mix and compost and place germinated seeds inside. They will be sticky and will cling to a small pointed tool. You may need to poke a hole in the mix for a long root. Water lightly and wait for leaves to emerge in a couple of days and then place in a bright spot.
Transplanting Your Seedlings
Once all danger of frost has passed, it’s safe to transplant your seedlings. They will need to harden off first.
Place them outdoors in the shade for increasingly longer periods of time for a week or two so they have a chance to get used to the variations in temperatures and wind before planting them permanently.
In addition, you need to protect them from full sun or they can get a plant sunburn. These little guys aren’t used to conditions outdoors, so you have to treat them like your own winter self! But give them a chance to get used to it, and they will thrive all summer and give you many more vegetables.
Conclusion
How fun it is to think about starting to “garden” in a week or two! Have fun planning your plot and good luck watching those seeds grow inside by starting your vegetable garden indoors!